출처 :http://www.aftvnews.com/how-to-manually-upgrade-or-downgrade-the-amazon-fire-tv/
http://sideloadfiretv.com/sideload-apps-amazon-fire-tv-windows/
 adb-setup-1.3.zip
SIDELOAD APPS TO THE AMAZON FIRE TV USING WINDOWS
Learn how to sideload Android apps to your Amazon Fire TV or Fire TV Stick using a Windows computer. Amazon has given Fire TV owners the ability to easily sideload .APK files to their device. The whole process should take less than 10 minutes. Since the Fire TV does not have touch screen capabilities, only certain Android apps will run correctly on the device (click here for a link of recommended apps to sideload). Mac users can use this tutorial.
How-to Sideload Apps to the Amazon Fire TV with Windows
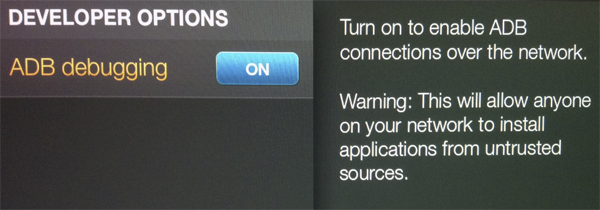
ENABLE ADB DEBUGGING
1. Go to Settings
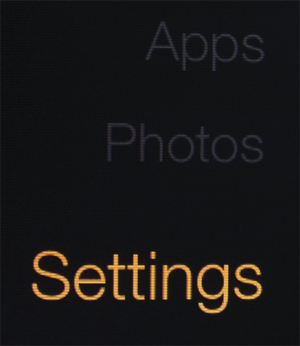
2. System

3. Developer Options
![]()
4. Enable ‘ADB Debugging’
OBTAIN FIRE TV IP ADDRESS
1. Go to Settings
2. System
3. About
![]()
4. Under ‘Network’ – Write down the IP Address

SET UP ADB FOR WINDOWS
1. On your computer, download and run the ADB installation here.
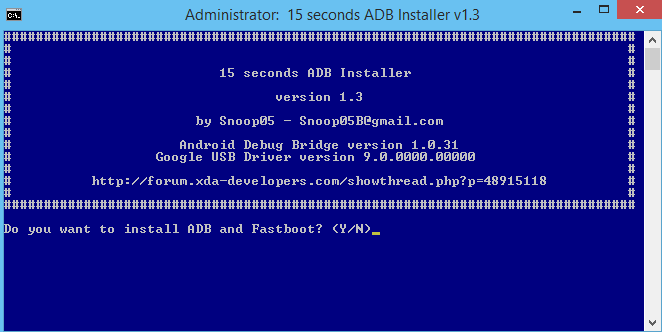
2. Type ‘Y’ and hit Enter to install ADB and Fastboot.

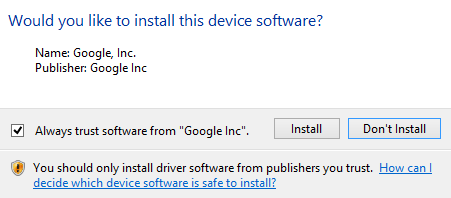
3. Type ‘Y’ for the ADB system-wide installation and again for the device drivers installation.

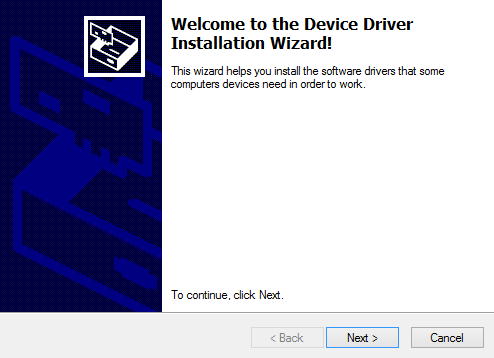
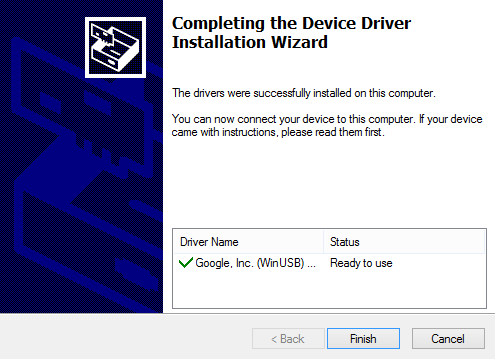
4. You will prompted to install the drivers. Confirm and install the ADB drivers.
SIDELOAD APP TO FIRE TV
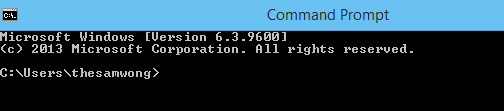
1. Open ‘Command Prompt’
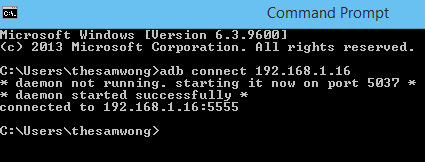
2. Type in,
adb connect IPADDRESS
and hit Enter. Type in the Fire TV’s IP address (from earlier) instead of IPADDRESS. ‘Connected to IPADDRESS:5555′ will appear upon successful connection.
How to manually upgrade or downgrade the Amazon Fire TV

The Fire TV update is still slowly making its way out to all the devices but, if you’re tired of waiting, here’s how to manually install the update. This same method also works for downgrading to a previous version of the Fire TV operating system. In order to manually upgrade or downgrade, you will need to be rooted with BusyBox installed.
Update
10/10/2014 As of this week, some Fire TVs are starting to arrive with an updated recovery partition that is blocking downgrades. If you follow this guide and the downgrade fails during the installation, follow the new steps I just added to the bottom of this page.
- Download the firmware version you wish to install from the software page
- Rename the downloaded file to update.zip
- Connect to your Fire TV via ADB
- Run the command: adb shell
- Run the command: su
(If this is the first time you’ve ever run su, a pop-up will appear on the Fire TV, select Grant) - Run the command: chmod 777 /cache
- Run the command: chmod 777 /cache/recovery
Note: If you see a message saying “No such file or directory”, then run the following two commands:
mkdir /cache/recovery
chmod 777 /cache/recovery - Run the command: cd /cache/recovery
- Run the command: echo --update_package=/cache/update.zip > command
- Run the command: exit
- Run the command (yes, again): exit
- Run the command: adb push update.zip /cache
(This assumes the update.zip file you renamed in step 2 is in the same directory as adb, otherwise enter the full path to the file like adb push C:\full\path\to\update.zip /cache) - Once the update.zip file has finished transferring to the Fire TV, run the command: adb reboot recovery
At this point your fire TV should restart and begin installing whichever firmware version you selected.
If you get a “Failed to copy … No space left on device” error:
There is likely already a software image in your /cache partition taking up all the space. This partition is independent of the rest of your Fire TV storage space. That is why this can fill up while your Fire TV has plenty of space remaining. To fix this issue:
- Run the command: adb shell
- Run the command: su
- Run the command: rm -f /cache/*.bin
- Run the command: rm -f /cache/*.zip
- Run the command: exit
- Run the command (yes, again): exit
- Redo step 12 and 13 above.
If downgrading fails:
As of the beginning of October 2014, new Fire TVs have been arriving with a recovery partition that blocks downgrading. If you followed the steps above and your downgrade failed to install after your Fire TV rebooted, follow the steps below.
- Download the Fire TV Stock Recovery by Amazon file version 51.1.0 fromAFTVnews.com/software
- Rename the stock recovery you just downloaded to: recovery.img
- Connect to your Fire TV using ADB
- Transfer the recovery file to your Fire TV’s /sdcard directory by running this command:
adb push recovery.img /sdcard/
(Note: This assumes the recovery.img file you renamed in the above step is in the same directory as ADB, otherwise enter the full path to the file like this:
adb push C:\full\path\to\recovery.img /sdcard/ - Run the command: adb shell
- Run the command: su
(Note: If this is the first time you’ve ever run su, a pop-up will appear on the Fire TV and you need to select “Grant”) - Run the command:

- Run the command: rm -f /cache/*.bin
- Run the command: rm -f /cache/*.zip
- Run the command: rm -f /cache/recovery/command
- Run the command: rm -f /sdcard/recovery.img
- Repeat the entire downgrade process in this guide.